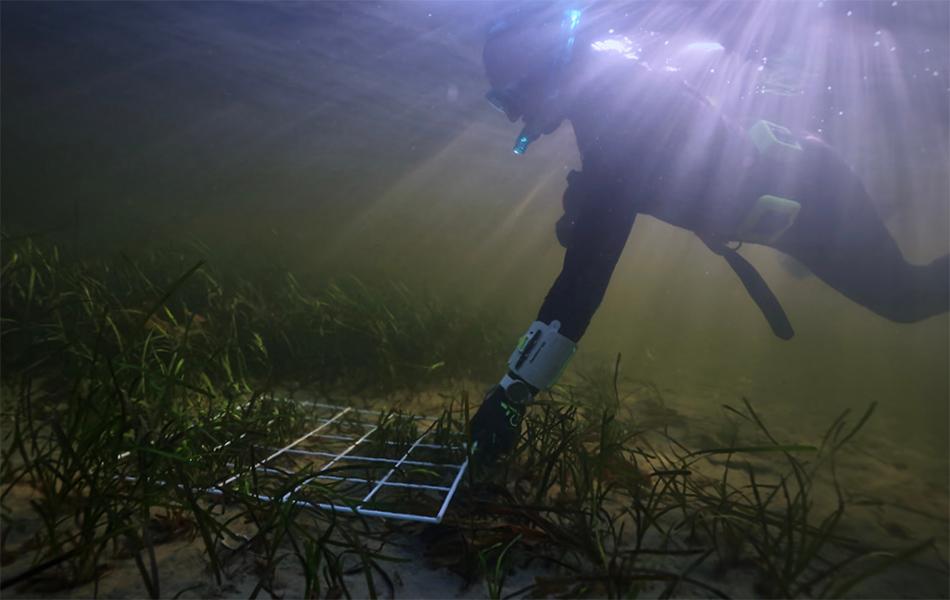
Jane Maddocks has a few hacks that will help to accurately record a wreck’s shape in relation to GPS, and other lo-fi tricks.
Last issue, I talked about sharing some of my survey hacks with you. I concentrated on methods that involved laying tapes and using drawing film to reproduce your wreck or reef. I briefly described making your own quadrats and recycling old fashioned SMB reels to wind tapes onto when the casing falls apart. Home-made photographic scales were also featured.
This month I want to focus on some uses of low budget technology.
A major revolution has to be the small video camera (GoPro; DJI etc). They can record in amazing detail what is happening underwater
To find the extent and shape of a reef or wreck, I use my hand-held GPS. I have two motorbike tyre inner tubes, one on top of the other to give lots of buoyancy and keep this rig at the surface. I then cover the hole in the middle with some cheap net. Onto this ‘nest’ I put my lovely GPS, safe in a waterproof bag. Remember, it’s staying at the surface, while I guide the ensemble from below. After attaching my dSMB reel, I hit ‘track function’, descend to the wreck and swim the shape of the wreck or reef.
I note the time that I start on the reef or wreck, and when I finish. The data are then transferred to my laptop. I have the shape of the object recorded.
If you are trying to record scattered remains, then it can be really accurate. A dive pair finds a target and sends up a dSMB. The RIB or hard boat comes alongside and takes a GPS position on the dSMB. The dSMB is then sent back down, ready for the next fix.
A major revolution has to be the small video camera (GoPro; DJI etc). They can record in amazing detail what is happening underwater. I recommend one of the newer versions, great resolution and up to 27megapixels on the still shots.
The trick for excellent videos is to buy two of the strongest lights you can afford, then practise swimming at a consistent height above your target. Close is good, evenness of light is really important.
For a good record of the site, shoot bursts of about 15 seconds, targeting chosen parts of your wreck or reef. Your images can then be loaded with the rest of your records and research to make a brilliant display for the group’s next party night.
Buying a nice, new, small video camera means you may have an older, still functional camera at home. I am planning to use mine as a BRUV on a part of my research wreck, where I suspect there is a lot of fishy action that I don’t see.
BRUV stands for Baited Remote Underwater Video; it sounds amazing and it is! My older small video camera gets mounted on a weighted tripod, alongside an enclosed box with tiny holes. It should be positioned about one metre in front of the lens. The camera is focussed just above the box with the small holes. Feeding fish in the wild is bad practice, but the small box allows the smell of food to go into the water — but the fish can’t eat it.
At the start of the dive, switch the camera on. At the end of the dive, switch it off and be prepared to be amazed at the footage of investigating fish and crabs. Remember to have a line to the surface in case you can’t get back to pick it up.
Diving with a group of friends doing something fun is great for keeping branch members engaged. It does not have to be a mega national project: it can just be for you.
For example, Jenny and Rob from Southsea Sub Aqua Club took some of their Ocean Divers to the Lake District. They located a small wreck at a depth of 7m and recorded it on video, tapes, and boards. They also tried their hand at photogrammetry.
The Ocean Divers proved they could do this sort of stuff in shallow water, had a really enjoyable time, and some of them are well on their way to Sports Diver.
Could your wreck project give your members something to make their training purposeful and fun?
Article by Jane Maddocks first published in SCUBA magazine, Issue 145 May 2024.

 Author: Jane Maddocks | Posted 26 May 2024


